
Prerequisite – Enable Linux Subsystem – Instructions Here
If you have not done so already, you need to enable the linux subsystem, instruction can be found here on how to enable the linux subsystem.
Install With the GUI
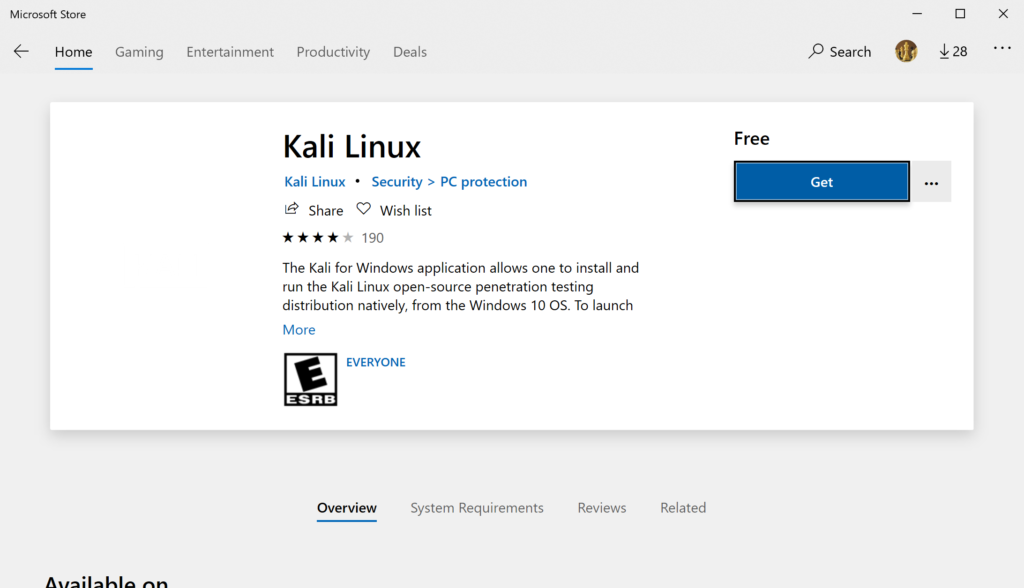
Step 1: Open Microsoft Store and search for linux

Step 2: Click on Kali Linux and click “Get”
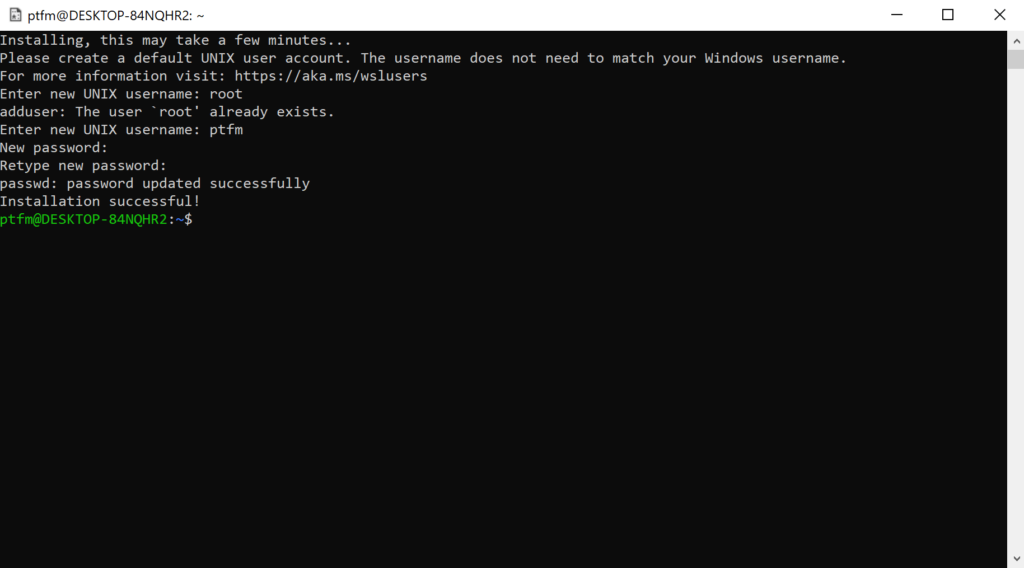
Step 3: Launch Kali-Linux and configure user

root user exists already, so use another username, it does not have to be the same as your Windows username
Step 4: Update and Upgrade
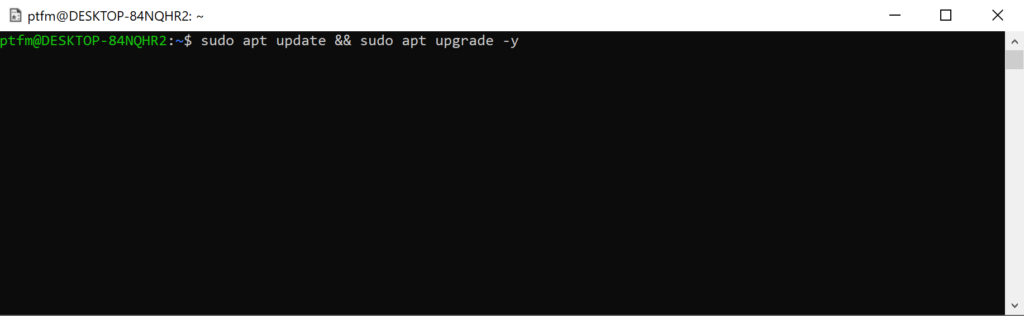
sudo apt update && sudo apt upgrade -yStep 5: Install tools for use
Kali on Windows will come with no tools installed, but after you run the update and upgrade you can install all the normal tools with apt package manager.To get all tools and the default setup for kali-linux use the command:
sudo apt install kali-linux-defaultThat is all you need to do to install kali-linux app on Windows 10. Happy Hacking
Install with Powershell
curl.exe -L -o kali-linux.appx https://aka.ms/wsl-kali-linux
Add-AppxPackage .\kali-linux.appx
wsl -d kali-linux
sudo apt update && sudo apt upgrade -y
sudo apt install kali-linux-default